OSLogin requires every SSH key to be tied to a user.
For normal / human users the process is straight-forward and there is a lot of documentation about it. For Service Accounts, things get a little weirder…
This tutorial will show you how to create an SSH key that is tied to a Service Accout and which you can use to log into instances as the Service Account. (e.g.: “ssh -i key serviceaccount@<public IP>”)
This is useful for third party tools or automations that need to connect into machines but don’t support gcloud commands to do so.
I chose to make this quick tutorial because i had to join information from a few different pages from GCP’s documentation to do it. By putting everything in one page, i hope you’ll have an easier time than me.
1 – Setting up the environment
Skip this part if you already have a GCP project with OSLogin enabled.
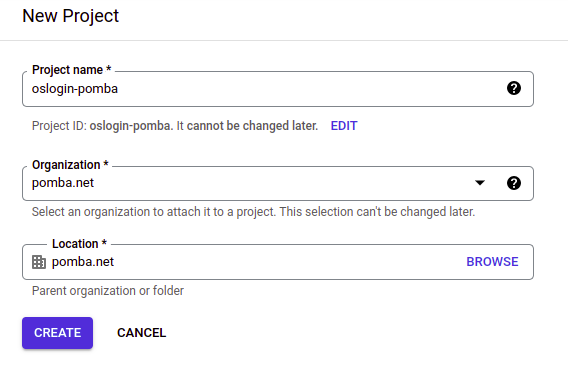
Just to start on a blank slate, we’ll create a completely new project:
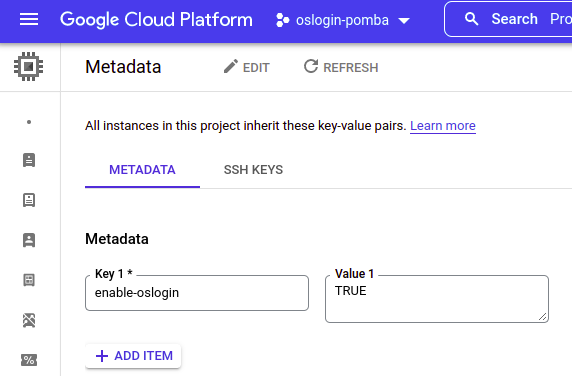
Now, at Metadata , let’s enable OSLogin for all instances:
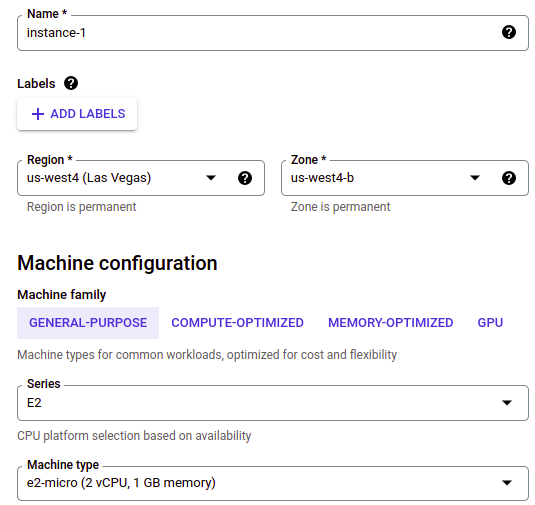
Then, let’s create a VM:
You don’t need to change any settings, the defaults are fine.
Okay, our instance is up!

2. Creating the Service Account and setting permissions
For all following sessions, we will be using GCP’s Cloud Shell for some commands.
2.1 Create the Service Account you whish to use when logging in via SSH.
You can do this via the GUI or with the following CLI:
gcloud iam service-accounts create <account name> --project <project id> --display-name <account name>For example:
gcloud iam service-accounts create oslogin-account –project oslogin-pomba –display-name oslogin-account

2.2 Adding the required permissions to your account and to the service account.
You need the following permissions:
- Your account:
- “Service Account Token Creator” role
- “Service Account User” authorization for the Service Account you created
- Service Account:
- “Compute OS Login” or “Compute OS Admin Login” role
- “Service Account User” authorization for the Service Account your instances use
For instructions on how to add these permissions, read the rest of this section.
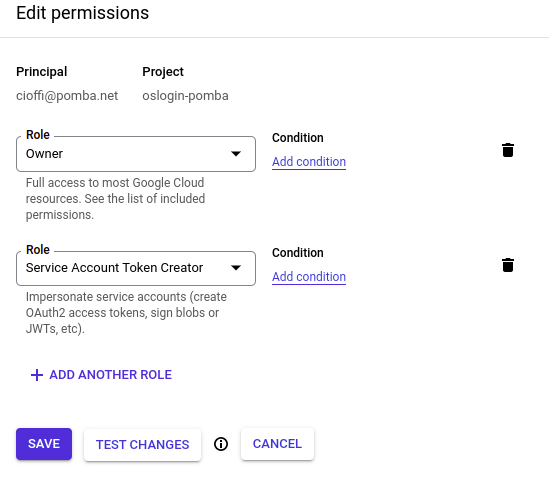
Your account needs to have the “Service Account Token Creator” role, and no, it doesn’t come bundled with the “Editor” or “Owner” role!
Now you need to add yourself as a user to the service account you just created.
Go to IAM >> Service Accounts and click on the new service account.

Click on the “Permissions” tab and then “Grant Access”.
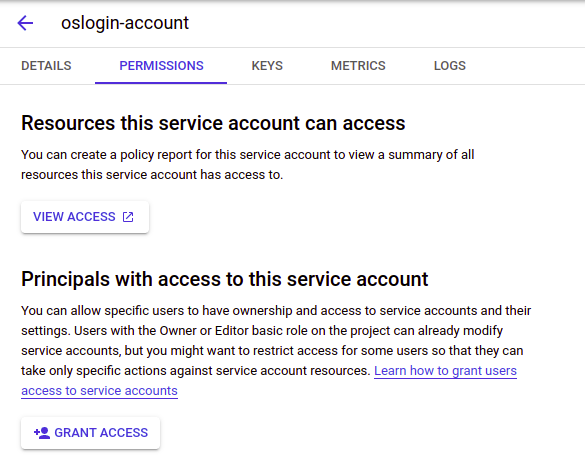
Add yourself as a “Service Account User”:
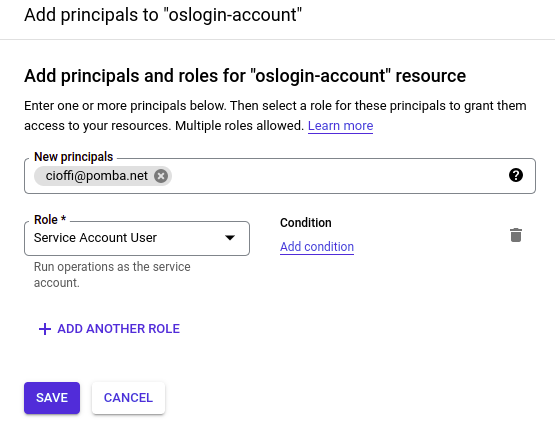
Good!
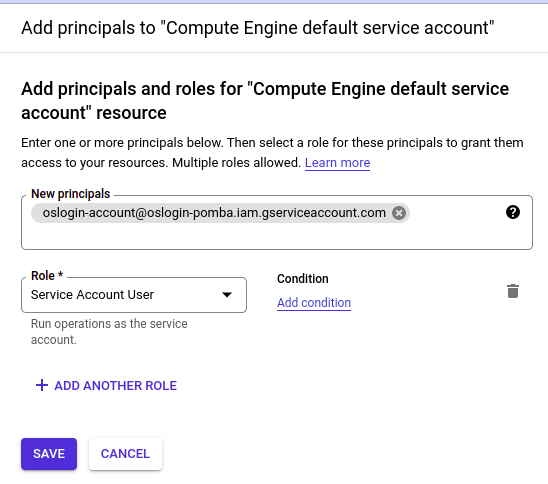
Now, let’s add the service account you created as a “Service Account User” for the account your Instances use.
Back in the Service Accounts page, note down the name of your SA. If you haven’t done anything special, all your instances should use the “Compute Engine default Service Account”. Click on it.

Again, go into “Permissions” >> “Grant Access”. Add your SA as a “Service Account User”:
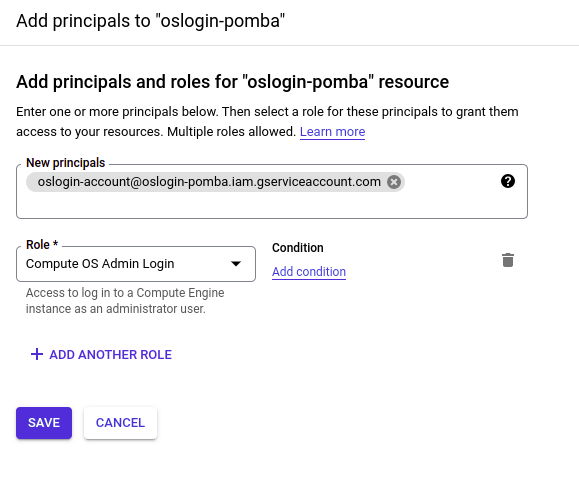
And finally, add the role “OS Compute Login” or “OS Compute Admin Login” to the service account:
3. Creating a SSH Key-pair and adding it to the Service Account
3.1 Creating the SSH key-pair
In your CloudShell instance, run the following command to create a key pair:
If the command asks for a passphrase, you can leave it empty.
ssh-keygen -t rsa -f key -b 20483.2 Adding the public key to your Service Account
Run the following command to add the key to the Service Account’s key list:
gcloud compute os-login ssh-keys add --key-file=key.pub --impersonate-service-account=<service account>
In our example, that would be:
gcloud compute os-login ssh-keys add --key-file=key.pub --impersonate-service-account=oslogin-account@oslogin-pomba.iam.gserviceaccount.com

3.3 Find the Service Account’s SSH username
Instead of using the service account’s name when logging into SSH, you need to use a POSIX username that is automatically generated for your service account.
To find out the POSIX username, use the following command:
gcloud compute os-login describe-profile --impersonate-service-account=<service account>
In our example, that would be:
gcloud compute os-login describe-profile --impersonate-service-account=oslogin-account@oslogin-pomba.iam.gserviceaccount.com
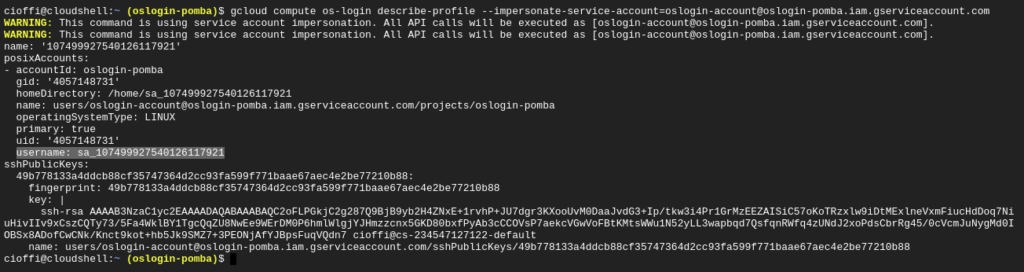
The line starting with “username:” contains our SSH username. In the print above, the line is highlighted.
In this example, our SSH username is “sa_107499927540126117921”
4. Log in using SSH!
This should be everything. Now you just have to log in using the private key you created earlier and the service account’s username:
ssh -i <private key file> <username>@<instance's public IP>
In our example, that would be:
ssh -i key [email protected]


5. Common Issues
Here are a few issues you can run into and how to debug them
5.1 – Make sure you are allowing SSH connections from your public IP
If your VPC’s Firewall is blocking SSH connections from your IP, you won’t be able to log in!
Create a rule allowing the connection and try again.
5.2 – Check if OSLogin is enabled on the machine
If you can’t login, check if OSLogin is enabled. Run the following command INSIDE THE INSTANCE:
curl "http://metadata.google.internal/computeMetadata/v1/instance/attributes/enable-oslogin" -H "Metadata-Flavor: Google"
“true” means “enabled” and “false” means “disabled”.
You can also check if OSLogin is enabled project-wide with this command:
curl "http://metadata.google.internal/computeMetadata/v1/project/attributes/enable-oslogin" -H "Metadata-Flavor: Google"
5.3 – Check permissions
If you’re still having problems, go through section 2 of this post and check all permissions again.
You can also run the following command from inside of your instance to see the users allowed to enter via OSLogin:
curl "http://metadata.google.internal/computeMetadata/v1/oslogin/users?pagesize=1&pagetoken=0" -H "Metadata-Flavor: Google"
Views: 318